
Today we will learn how to make “G Major 35” in Vegas Application.
If you don’t have a Sony Vegas, you can get it here -> Sony Vegas
Video
Step 1: Open Vegas application, then import your video.
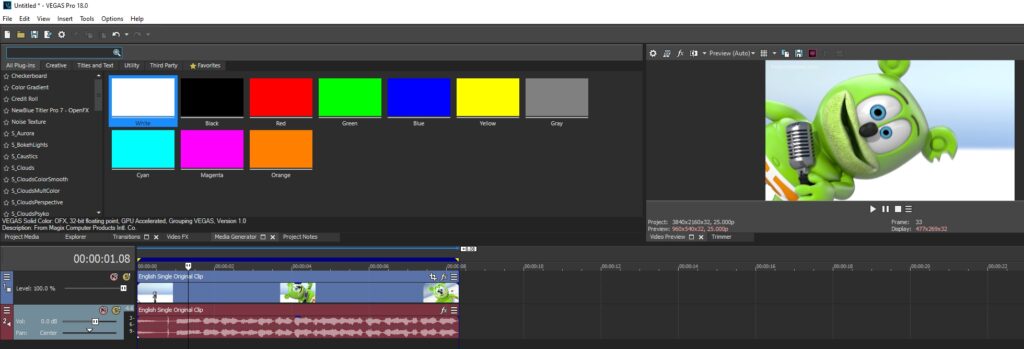
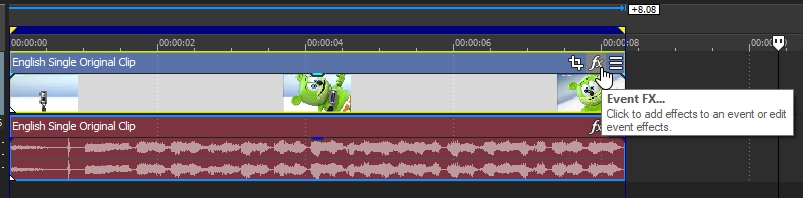
Step 2: Go to video section and click fx symbol. As an alternate way, you can just right click the video and choose Media fx.
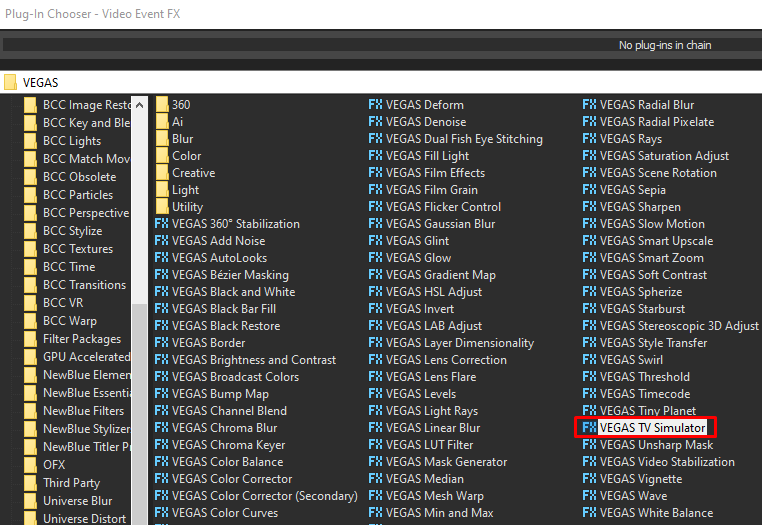
Step 3: Choose TV Simulator in the list of effects.
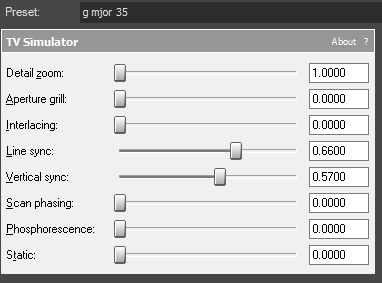
Step 4: Copy the settings in the image below.
Step 5: Add the 2nd effect Invert.
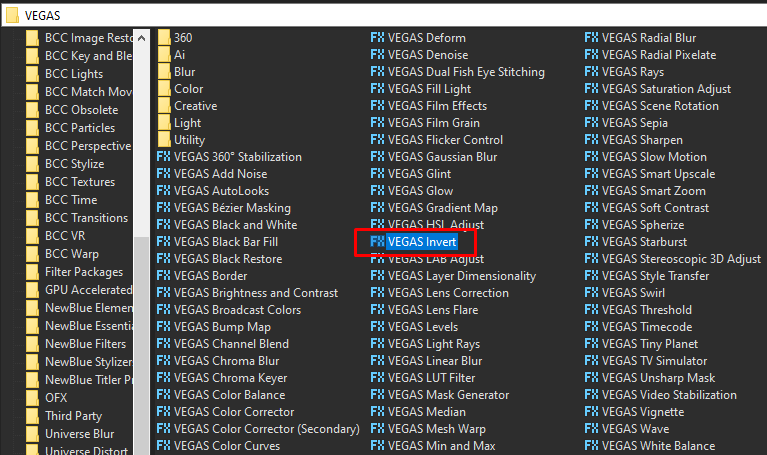
Step 6: In the list of Presets for Invert, choose Default.
Blend Amount: 1.000
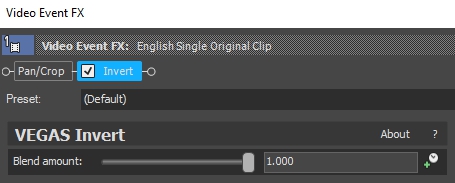
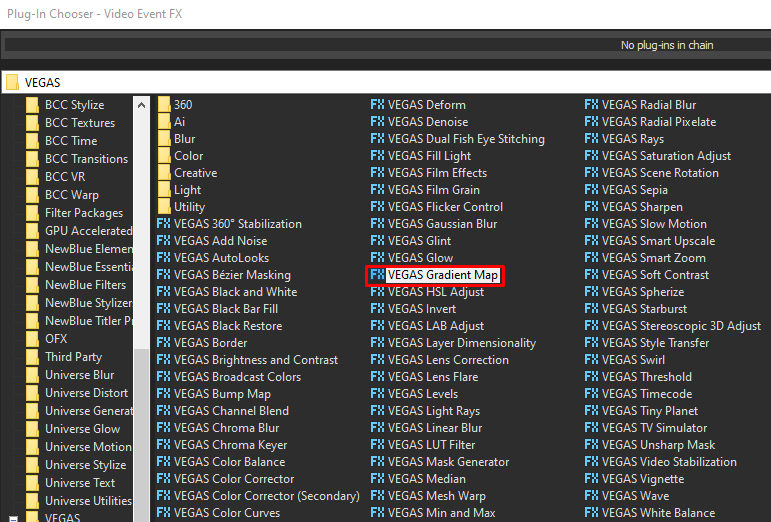
Step 7: For the 3rd video effect, add Gradient Map.
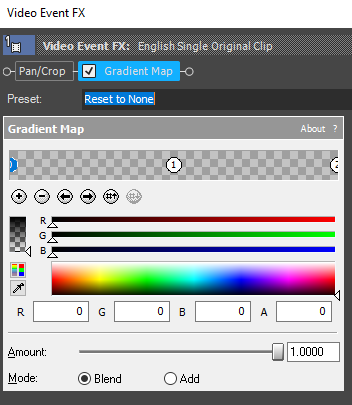
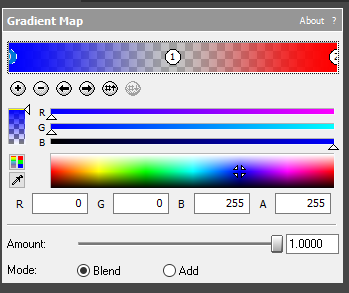
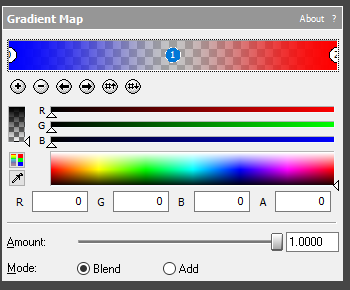
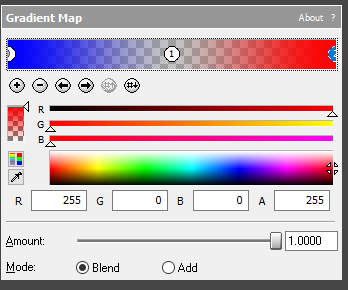
Step 8: Customize the gradients using the following settings
1st Gradient:
| R -> 0 | G -> 0 | B -> 255 | A -> 255 |
2nd Gradient
| R-> 0 | G -> 0 | B -> 0 | A -> 0 |
3rd Gradient
| R-> 255 | G -> 0 | B -> 0 | A -> 255 |
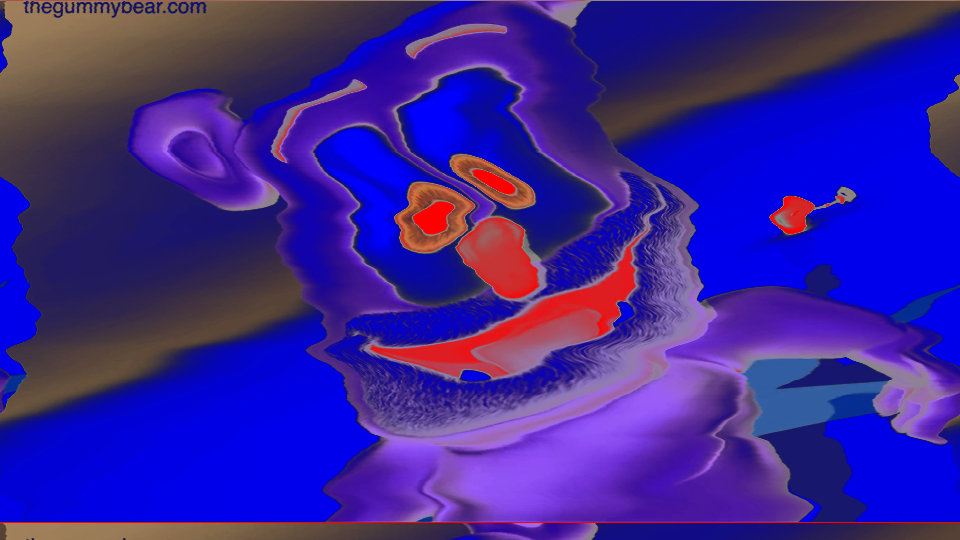
That’s it for the video effect, if you are using Gummy Bear as reference, it should look like this
Audio
Step 9: For the audio part, right click audio, then choose Properties.
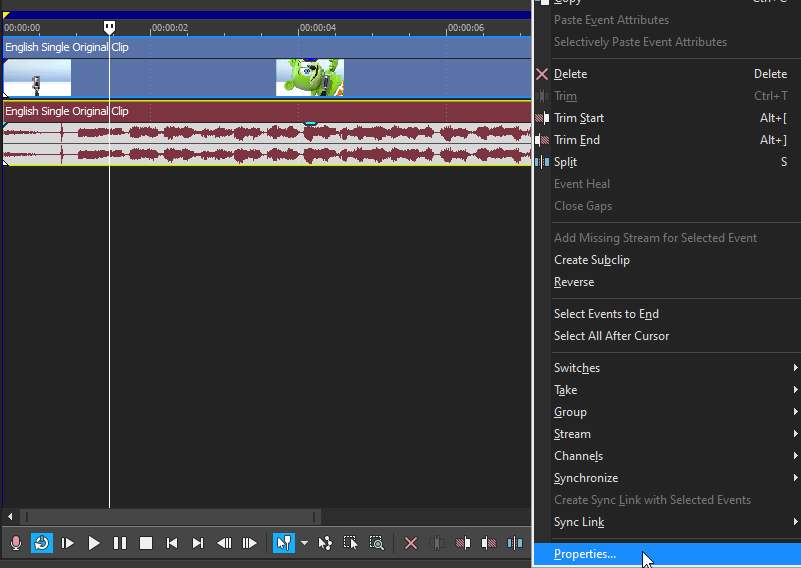
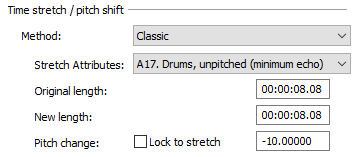
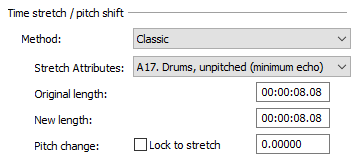
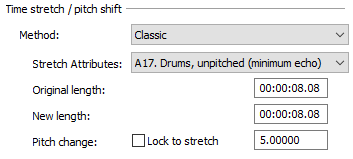
Step 10: In the popup window, change the following:
Method: Classic
Stretch Attributes: A17
Pitch Change: -10.000
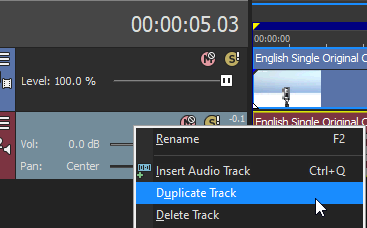
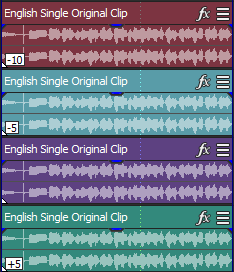
Step 11: Go to your audio again and right click it, then choose Duplicate track for 3 times (so you should have 4 audio tracks).
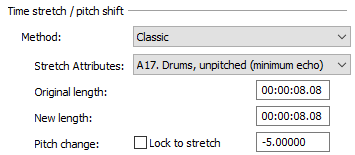
Step 12: Here are the pitches of the 3 remaining audio tracks:
Step 13: Audio tracks should look something like this:
Step 14: Render the video, you have successfully made the G Major 35 Effect.