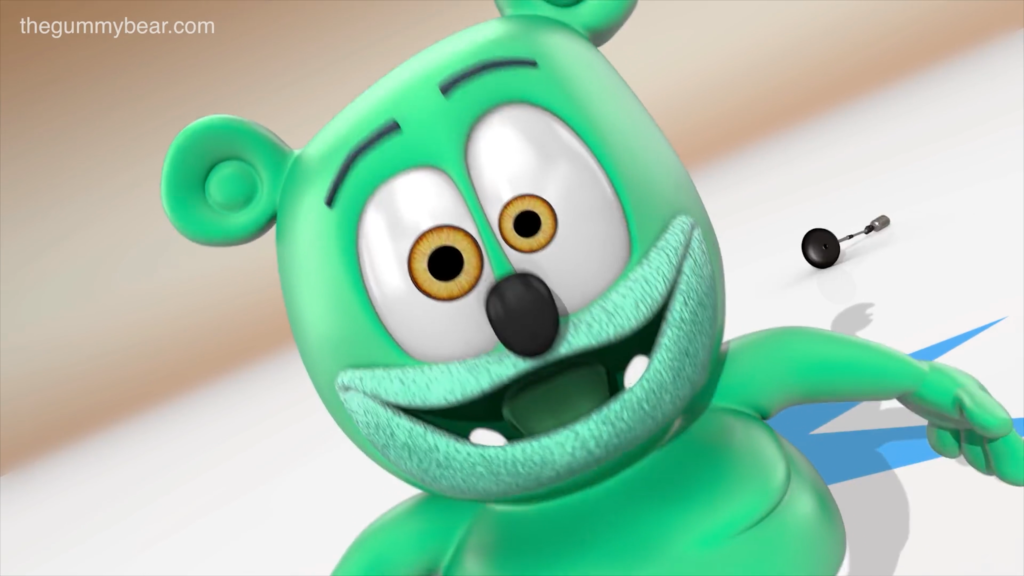
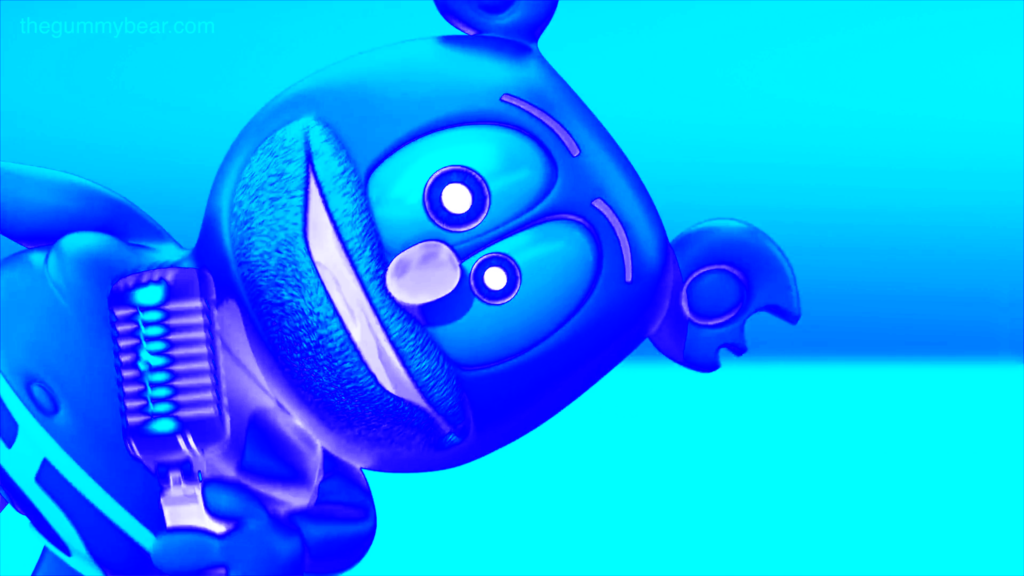
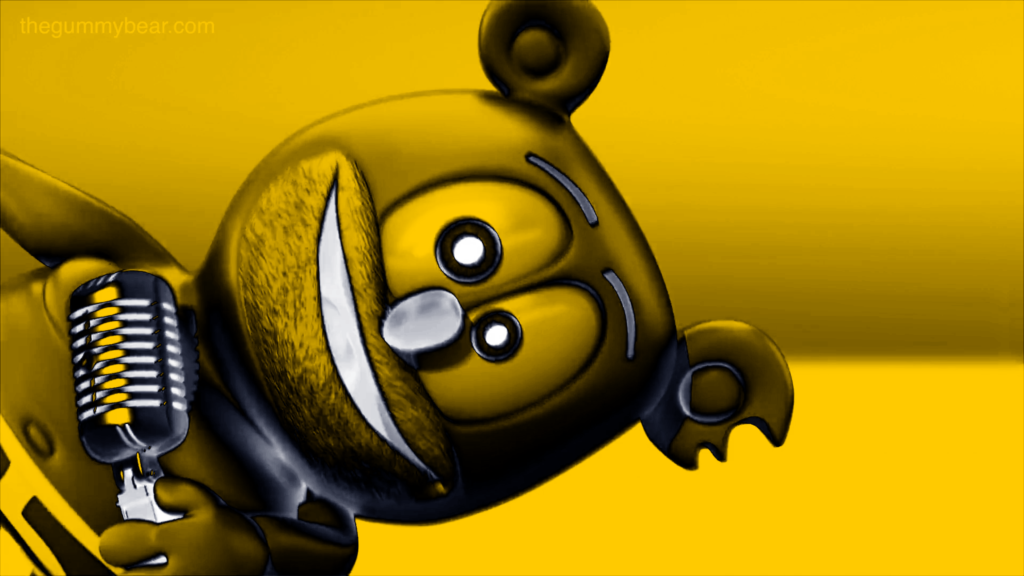
How to do the Does Respond effect in Vegas

In this tutorial, we will learn how to make Does Respond effect in Vegas Application.
If you prefer a video tutorial, you can just go to this link -> Youtube Does Respond Tutorial
If you don’t have a Sony Vegas, you can get it here -> Sony Vegas

Step 1:
Open Vegas application, then import your video.
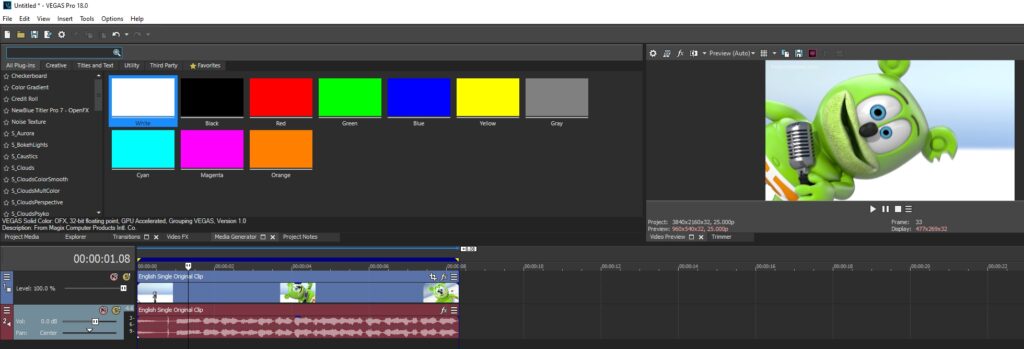
Import video

Step 2:
Go to video section and click fx symbol. As an alternate way, you can just right click the video and choose Media fx.

Click fx symbol

Step 3:
Choose HSL Adjust in the list of effects.

Step 4: In the window for HSL Adjust, set Hue to 0.850

Step 5: Add the 2nd effect Swirl.

Step 6: In the window for Swirl, set the Amount to 0.130
Amount -> 0.130


That’s it for the video effect, if you are using Gummy Bear as reference, it should look like this
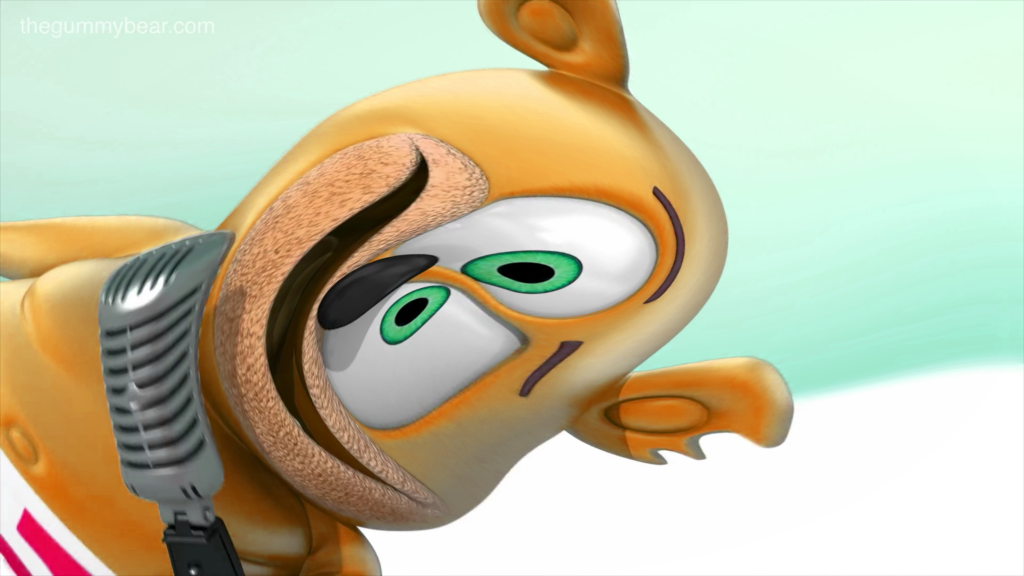
Step 7:
For the audio part, right click audio, then choose Properties.

Step 8:
In the popup window, change the following:
Method: Classic
Stretch Attributes: A17. Drums, unpitched (minimum echo)
Pitch Change: -12.000

Step 9:
Go to your audio again and right click it, then choose Duplicate track

Step 10:
Change the pitch of the new audio with the following:

Method: Classic
Stretch Attributes: A17. Drums, unpitched (minimum echo)
Pitch Change: 0.000

Step 11:
Render the video, you have successfully made the Does Respond Effect.
Here are my videos with Does Respond as one of the effects.

If you find this tutorial very helpful, please feel free to share it.
You can also find me in Youtube -> Team Bahay

How to do the Freshing Equalizer effect in Vegas

In this tutorial, we will learn how to make Freshing Equalizer in Vegas Application.

Step 1:
Open Vegas application, then import your video.

Import video

Step 2:
Go to video section and click fx symbol. As an alternate way, you can just right click the video and choose Media fx.

Click fx symbol

Step 3:
Choose Color Corrector (Secondary) in the list of effects.

Step 4:
A popup will appear, in the list of presets, choose Invert Color
Rotate Hue -> 180.000

Step 5:
Add another effect Invert.

Step 6: In the list of Presets for Invert, choose Default.
Blend Amount: 1.000

That’s it for the video effect, if you are using Gummy Bear as reference, it should look like this

Step 7:
For the audio part, right click audio, then choose Properties.

Step 8:
In the popup window, change the following:
Method: Classic
Stretch Attributes: A17. Drums, unpitched (minimum echo)
Pitch Change: -4.000

Step 9:
Render the video, you have successfully made the Freshing Equalizer Effect.
Here is my video in Freshing Equalizer effect.

If you find this tutorial very helpful, please feel free to share it.
You can also find me in Youtube -> Team Bahay

How to do the Goo Goo Gaa Gaa / GooGooGaaGaa effect in Vegas

In this tutorial, we will learn how to make GooGooGaaGaa in Vegas Application.
If you prefer a video tutorial, you can just go to this link -> Youtube GooGooGaaGaa Tutorial.
You can also call this effect as GooGooGaaGaa.

Step 1:
Open Vegas application, then import your video.

Import video

Step 2:
Go to video section and click fx symbol. As an alternate way, you can just right click the video and choose Media fx.

Click fx symbol

Step 3: Choose Channel Blend in the list of effects.

Step 4: In the list of Presets, choose RGBA -> BGRA

That’s it for the video effect, if you are using Gummy Bear as reference, it should look like this

Step 5:
For the audio part, right click audio, then choose Properties.

Step 6:
In the popup window, change the following:
Method: Classic
Stretch Attributes: A17
Pitch Change: 12.000

Step 7:
Render the video, you have successfully made the GooGooGaaGaa Effect.
Here are my videos in GooGooGaaGaa effect and other variations.

If you find this tutorial very helpful, please feel free to share it.
You can also find me in Youtube -> Team Bahay

How to do the Blind X effect in Vegas

In this tutorial, we will learn how to make Blind X in Vegas Application.
If you prefer a video tutorial, you can just go to this link -> Youtube Blind X Tutorial
This effect is also known as X is Blind.

Step 1:
Open Vegas application, then import your video.

Import video

Step 2:
Go to video section and click fx symbol. As an alternate way, you can just right click the video and choose Media fx.

Click fx symbol

Step 3:
Choose Invert in the list of effects.

Step 4: In the list of Presets for Invert, choose Default.
Blend Amount: 1.000

Step 5:
Add the 2nd effect Color Corrector (Secondary).

Step 6:
A popup will appear, copy the settings below.
Rotate Hue -> 315.000

Step 7:
Add the 3rd effect Pinch/Punch.

Step 8:
Copy the settings below for Pinch/Punch Effect.
Amount: -1.000
X -> -0.152
Y -> -0.111

Step 9: For the 4th and last effect, add the Mirror effect.

Step 10: In the list of presets for Mirror, choose Reflect Left.


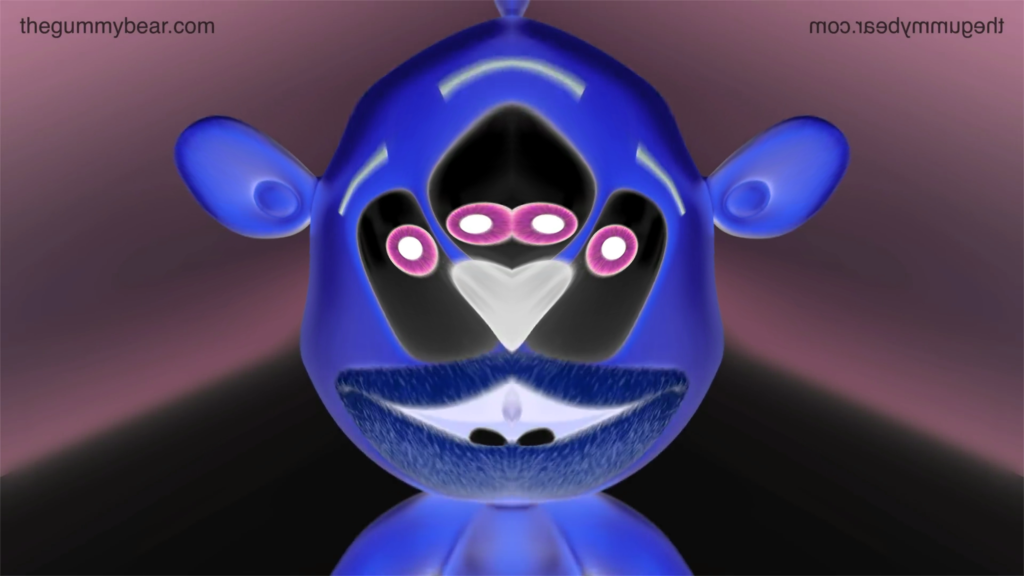
That’s it for the video effect, if you are using Gummy Bear as reference, it should look like this

Step 11:
For the audio part, right click audio, then choose Properties.

Step 12:
In the popup window, change the following:
Method: Classic
Stretch Attributes: A17. Drums, unpitched (minimum echo)
Pitch Change: -5.000

Step 13:
Go to your audio again and right click it, then choose Duplicate track

Step 14:
Change the pitch of the new audio with the following:

Method: Classic
Stretch Attributes: A17. Drums, unpitched (minimum echo)
Pitch Change: -3.000

Step 15:
Render the video, you have successfully made the Blind X Effect.
Here is my video with Blind X as one of the effects.

If you find this tutorial very helpful, please feel free to share it.
You can also find me in Youtube -> Team Bahay

How to do the I Killed X effect in Vegas

In this tutorial, we will learn how to make I Killed X in Vegas Application.
If you prefer a video tutorial, you can just go to this link -> Youtube I Killed X Tutorial

Step 1:
Open Vegas application, then import your video.

Import video

Step 2:
Go to video section and click fx symbol. As an alternate way, you can just right click the video and choose Media fx.

Click fx symbol

Step 3:
Choose HSL Adjust in the list of effects.

Step 4: Set Hue to 0.640

Step 5: Add another effect Spherize.

Step 6: In the list of presets, choose Maximum Sphere In.


That’s it for the video effect, if you are using Gummy Bear as reference, it should look like this

Step 7: For the audio part, right click audio, then choose Properties.

Step 8: In the popup window, change the following:
Method: Classic
Stretch Attributes: A17. Drums, unpitched (minimum echo)
Pitch Change: -8.00

Step 9: Render the video, you have successfully made the I Killed X Effect.
Here are my videos in I Killed X effect and other variations.

How to do the Robot effect in Vegas

In this tutorial, we will learn how to make Robot effect in Vegas Application.

Step 1:
Open Vegas application, then import your video.

Import video

Step 2:
Go to video section and click fx symbol. As an alternate way, you can just right click the video and choose Media fx.

Click fx symbol

Step 3: Choose Gradient Map in the list of effects.

Step 4: Customize the gradients using the following settings.

1st Gradient:

R -> 255G -> 0B -> 0A -> 255

2nd Gradient:

R -> 30G -> 255B -> 248A -> 255

3rd Gradient:

R -> 2G -> 0B -> 255A -> 255

4th Gradient:

R -> 0G -> 0B -> 0A -> 255

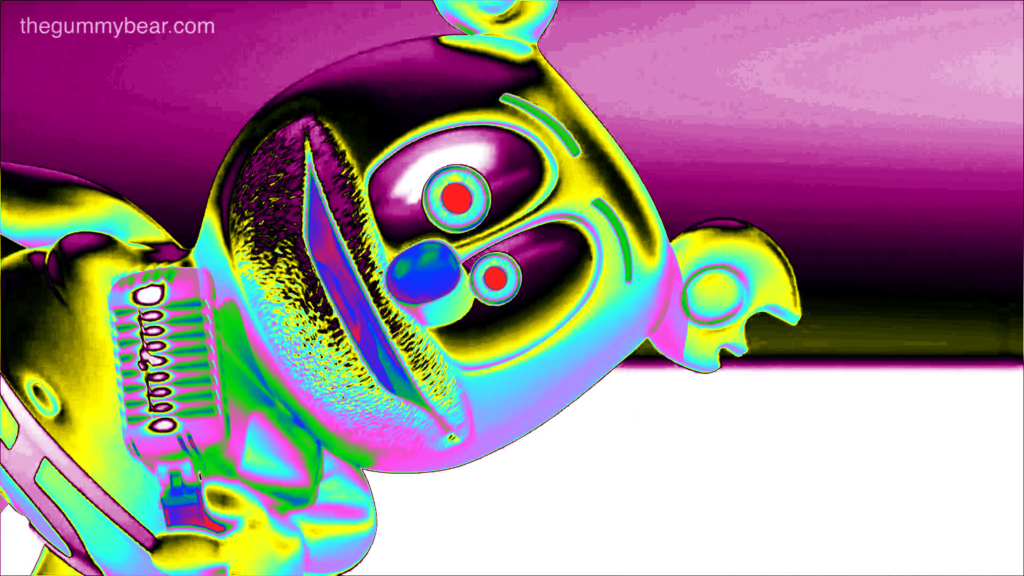
That’s it for the video effect, if you are using Gummy Bear as reference, it should look like this

Step 5: Go to audio section and click fx symbol. As an alternate way, you can just right click the audio and choose Audio Event fx.

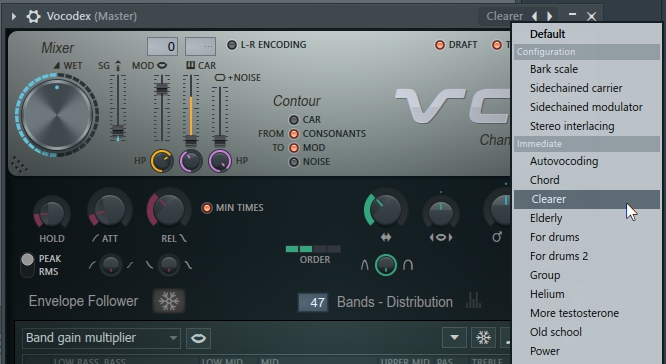
Step 6: Add IL Vocodex effect, I am using FL Studio but they should look the same.

Step 7: In the list of Presets, choose Robot.

Step 8: Piano keys should look like this.
21st White key
Type: Robot Saw

Step 9: Render the video, you have successfully made the Robot Effect.

If you find this tutorial very helpful, please feel free to share it.
You can also find me in Youtube -> Team Bahay

How to do the Group effect in Vegas

In this tutorial, we will learn how to make Group effect in Vegas Application.

Step 1:
Open Vegas application, then import your video.

Import video

Step 2:
Go to video section and click fx symbol. As an alternate way, you can just right click the video and choose Media fx.

Click fx symbol

Step 3: Choose Gradient Map in the list of effects.

Step 4: Customize the gradients using the following settings.

1st Gradient:

R -> 0G -> 0B -> 0A -> 255

2nd Gradient:

R -> 0G -> 200B -> 255A -> 255

3rd Gradient:

R -> 0G -> 0B -> 255A -> 255

4th Gradient:

R -> 0G -> 0B -> 0A -> 255

That’s it for the video effect, if you are using Gummy Bear as reference, it should look like this

Step 5: Go to audio section and click fx symbol. As an alternate way, you can just right click the audio and choose Audio Event fx.

Step 6: Add IL Vocodex effect, I am using FL Studio but they should look the same.

Step 7: In the list of Presets, choose Group.

Step 8: Piano keys should look like this.
9th White key
Type: Supersaw

Step 9: Render the video, you have successfully made the Group Effect.
Here is my video in Group effect.

If you find this tutorial very helpful, please feel free to share it.
You can also find me in Youtube -> Team Bahay

How to do the Clearer effect in Vegas

In this tutorial, we will learn how to make Clearer effect in Vegas Application.
If you prefer a video tutorial, you can just go to this link -> Youtube Clearer Tutorial

Step 1:
Open Vegas application, then import your video.

Import video

Step 2:
Go to video section and click fx symbol. As an alternate way, you can just right click the video and choose Media fx.

Click fx symbol

Step 3: Choose Gradient Map in the list of effects.

Step 4: Customize the gradients using the following settings.

1st Gradient:

R -> 255G -> 30B -> 30A -> 255

2nd Gradient:

R -> 15G -> 49B -> 255A -> 255

3rd Gradient:

R -> 0G -> 210B -> 12A -> 255

4th Gradient:

R -> 255G -> 75B -> 235A -> 255

5th Gradient:

R -> 45G -> 255B -> 235A -> 255

6th Gradient:

R -> 255G -> 255B -> 0A -> 255

7th Gradient:

R -> 0G -> 0B -> 0A -> 255

8th Gradient:

R -> 150G -> 0B -> 114A -> 255

9th Gradient:

R -> 255G -> 255B -> 255A -> 255

That’s it for the video effect, if you are using Gummy Bear as reference, it should look like this

Step 5: Go to audio section and click fx symbol. As an alternate way, you can just right click the audio and choose Audio Event fx.

Step 6: Add IL Vocodex effect, I am using FL Studio but they should look the same.

Step 7: In the list of Presets, choose Clearer.

Step 8: Piano keys should look like this.
14th, 16th White keys
Type: Ensemble

Step 9: Render the video, you have successfully made the Clearer Effect.
Here are my videos in Clearer effect.

If you find this tutorial very helpful, please feel free to share it.
You can also find me in Youtube -> Team Bahay

How to do the Chorded effect in Vegas

In this tutorial, we will learn how to make Chorded effect in Vegas Application.
If you prefer a video tutorial, you can just go to this link -> Youtube Chorded Tutorial

Step 1:
Open Vegas application, then import your video.

Import video

Step 2:
Go to video section and click fx symbol. As an alternate way, you can just right click the video and choose Media fx.

Click fx symbol

Step 3: Choose Gradient Map in the list of effects.

Step 4: Customize the gradients using the following settings.
1st Gradient:

R -> 255G -> 255B -> 255A -> 255

2nd Gradient

R-> 0G -> 0B -> 255A -> 255

3rd Gradient

R-> 0G -> 255B -> 255A -> 255

That’s it for the video effect, if you are using Gummy Bear as reference, it should look like this

Step 5: Go to audio section and click fx symbol. As an alternate way, you can just right click the audio and choose Audio Event fx.

Step 6: Add IL Vocodex effect, I am using FL Studio but they should look the same.

Step 7: In the list of Presets, choose Chord.

Step 8: Piano keys should look like this.
12th, 18th, 23rd White keys
Type: PWM

Step 9: Render the video, you have successfully made the Chorded Effect.
Here are my videos in Chorded effect.

If you find this tutorial very helpful, please feel free to share it.
You can also find me in Youtube -> Team Bahay

How to do the TeamBahayChorded effect in Vegas

In this tutorial, we will learn how to make my Team Bahay Chorded / TeamBahayChorded effect in Vegas Application.
If you prefer a video tutorial, you can just go to this link -> Youtube TeamBahayChorded Tutorial

Step 1:
Open Vegas application, then import your video.

Import video

Step 2:
Go to video section and click fx symbol. As an alternate way, you can just right click the video and choose Media fx.

Click fx symbol

Step 3: Choose Gradient Map in the list of effects.

Step 4: Customize the gradients using the following settings.
1st Gradient:

R -> 255G -> 255B -> 255A -> 255

2nd Gradient

R-> 0G -> 0B -> 0A -> 255

3rd Gradient

R-> 255G -> 202B -> 0A -> 255

That’s it for the video effect, if you are using Gummy Bear as reference, it should look like this

Step 5: Go to audio section and click fx symbol. As an alternate way, you can just right click the audio and choose Audio Event fx.

Step 6: Add IL Vocodex effect, I am using FL Studio but they should look the same.

Step 7: In the list of Presets, choose Chord.

Step 8: Follow the Piano keys in the image below.
12th, 15th, 18th Black keys

Step 9: Render the video, you have successfully made the TeamBahayChorded Effect.
Here are my videos in TeamBahayChorded effect.

If you find this tutorial very helpful, please feel free to share it.
You can also find me in Youtube -> Team Bahay