
In this tutorial, we will learn how to make Group effect in Vegas Application.
Step 1:
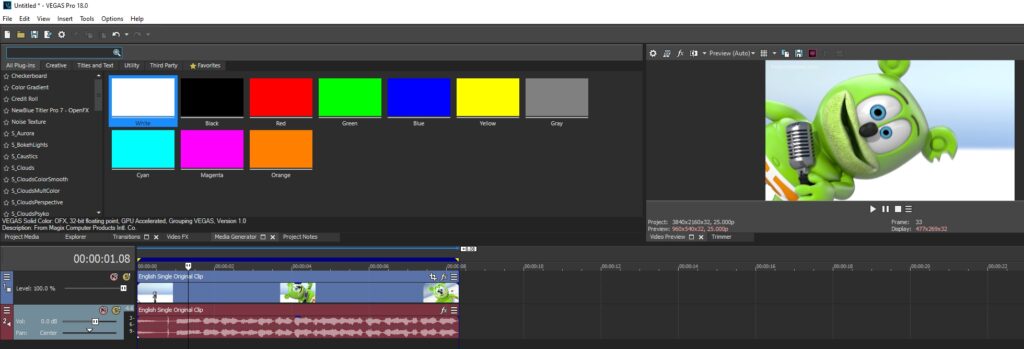
Open Vegas application, then import your video.
Step 2:
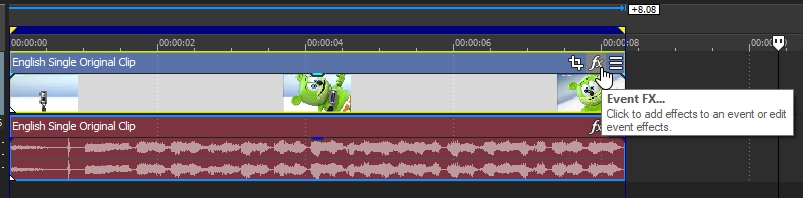
Go to video section and click fx symbol. As an alternate way, you can just right click the video and choose Media fx.
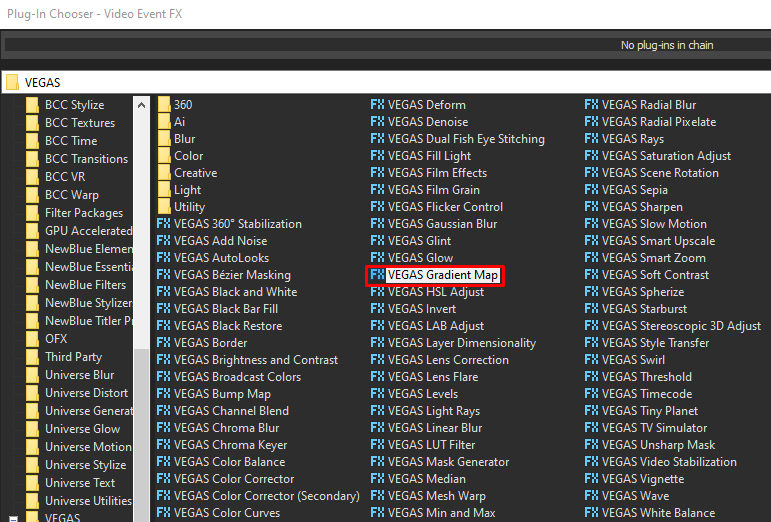
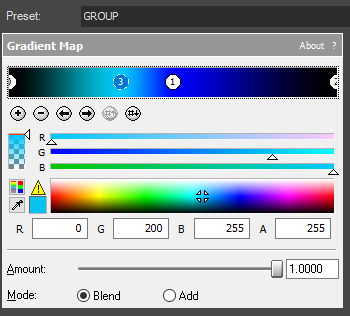
Step 3: Choose Gradient Map in the list of effects.

Step 4: Customize the gradients using the following settings.
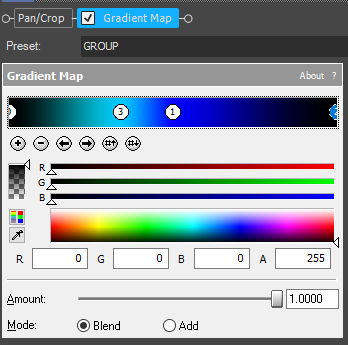
1st Gradient:
| R -> 0 | G -> 0 | B -> 0 | A -> 255 |
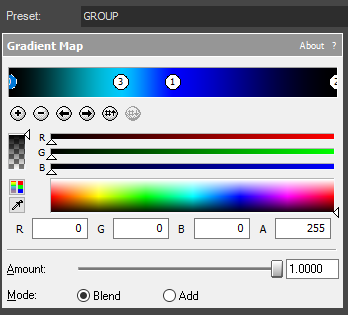
2nd Gradient:
| R -> 0 | G -> 200 | B -> 255 | A -> 255 |
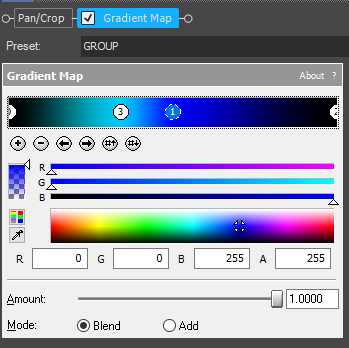
3rd Gradient:
| R -> 0 | G -> 0 | B -> 255 | A -> 255 |
4th Gradient:
| R -> 0 | G -> 0 | B -> 0 | A -> 255 |
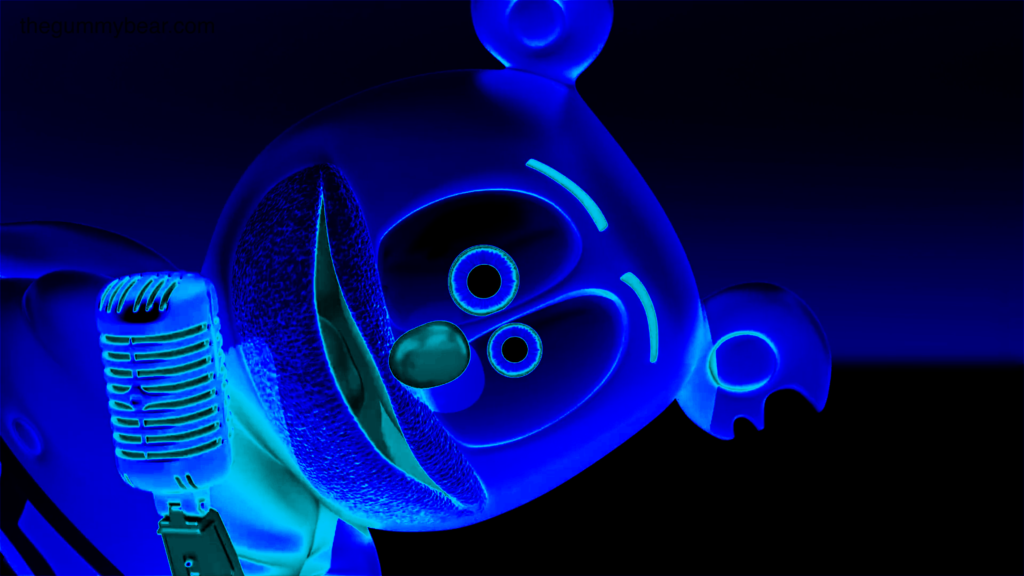
That’s it for the video effect, if you are using Gummy Bear as reference, it should look like this
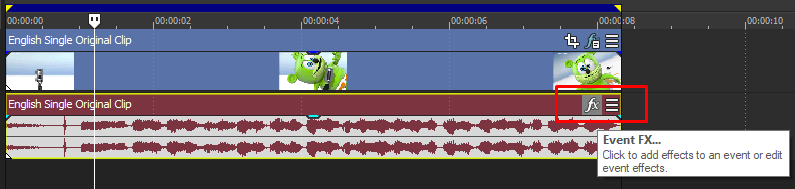
Step 5: Go to audio section and click fx symbol. As an alternate way, you can just right click the audio and choose Audio Event fx.
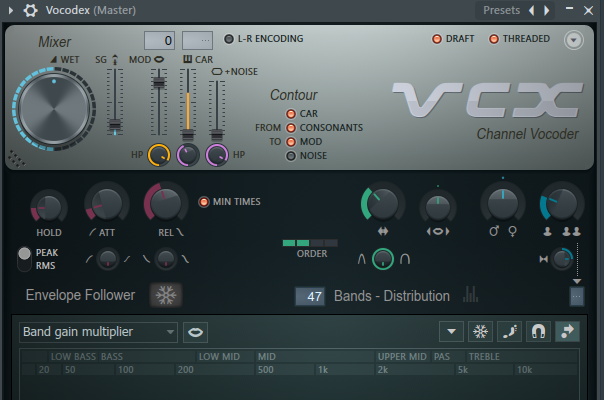
Step 6: Add IL Vocodex effect, I am using FL Studio but they should look the same.
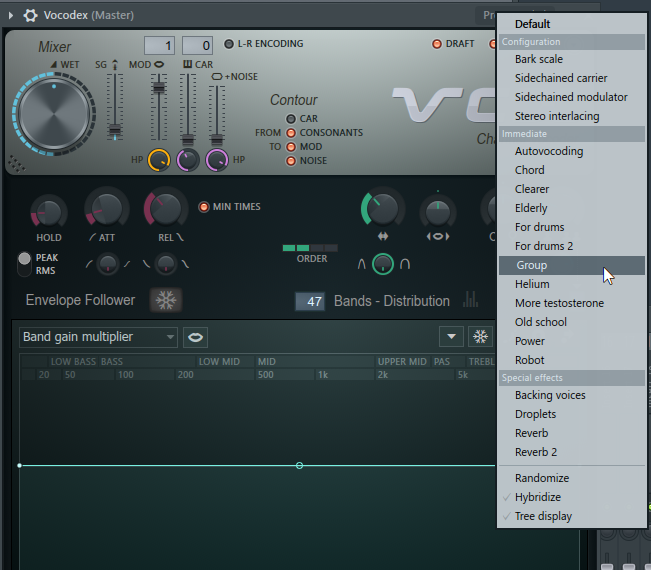
Step 7: In the list of Presets, choose Group.
Step 8: Piano keys should look like this.
9th White key
Type: Supersaw

Step 9: Render the video, you have successfully made the Group Effect.
Here is my video in Group effect.
If you find this tutorial very helpful, please feel free to share it.
You can also find me in Youtube -> Team Bahay